Setting up callbacks
In this article, we'll be discussing how to set up some basic callbacks. For simplicity, we'll use a simple one-document, one-party flow to illustrate these concepts, but the process will be identical for more complex flows.
We will be using webhook.site to capture the callbacks from the Scrive system. In a real integration, you'll obviously be pointing the callback at your own systems.
Setting up the process
Callbacks do not have to be specified at the process level. Scrive Flow supports a number of basic built-in callbacks that are sent out at predetermined points in the process as well as custom callbacks.
In this guide we'll set up the basic callbacks so we're going to use the basic process that we saw before in the Getting Started article related to Drafts:
{
  "dsl-version": "0.2.0",
  "stages": [
    {
      "initial": {
        "actions": [],
        "expect": {
          "signed-by": {
            "users": ["user1"],
            "documents": ["doc1"]
          }
        }
      }
    }
  ]
}
We won't go into detail here about setting this up. For more information, see the above-linked article.
Starting the instance
It is at the moment that we create a running instance from the draft that we pass any configuration, if desired, about where to send callbacks. You may also specify it when creating the draft in the first place.
Just like we did in the Getting Started article related to Instances, we are going to send a JSON object detailing concrete values for the variable names in the process:
{
  "title": "foobar",
  "process_parameters": {
    "documents": {
      "doc1": "2"
    },
    "users": {
      "user1": {
        "id_type": "user_id",
        "id": "1"
      }
    },
    "messages": {}
  },
  "callback": {
    "url": "https://webhook.site/cbd18804-ba4c-46c5-9942-a1232e4db09e",
    "version": 1
  }
}
Again, we won't go into detail about this process, given that you can refer back to the article mentioned above. However, you have probably noticed that this JSON object has an extra field called callback.
In the url field we set the URL which we would like to send our callback events to. In our case, this is the unique URL which webhook.site provided.
The version field is simply there to allow us to change the format of our callbacks in the future without breaking existing integrations.
Signing the document
Just as we did before, we can now follow the access link and sign the document:
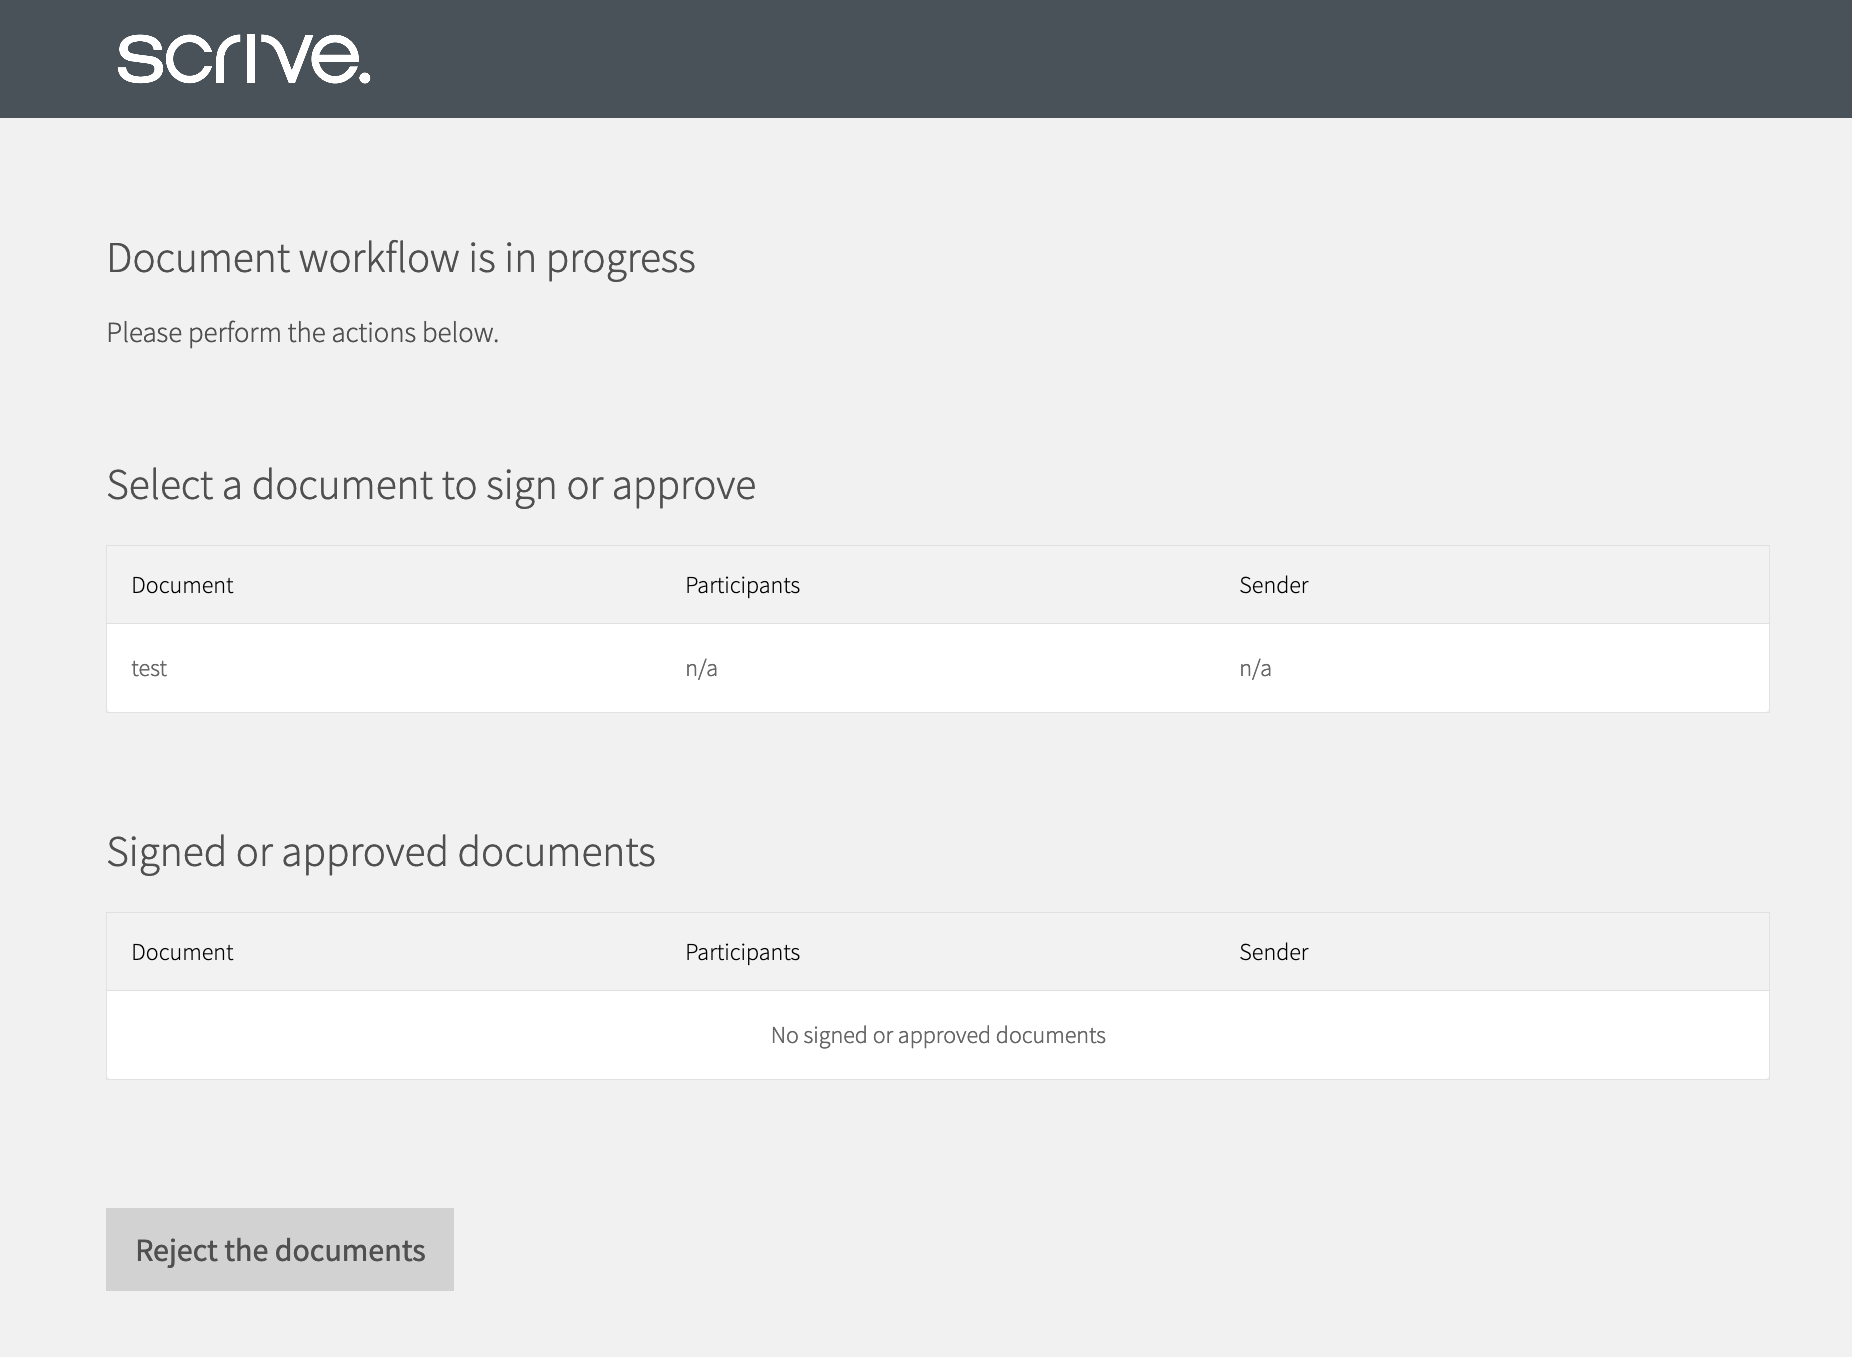
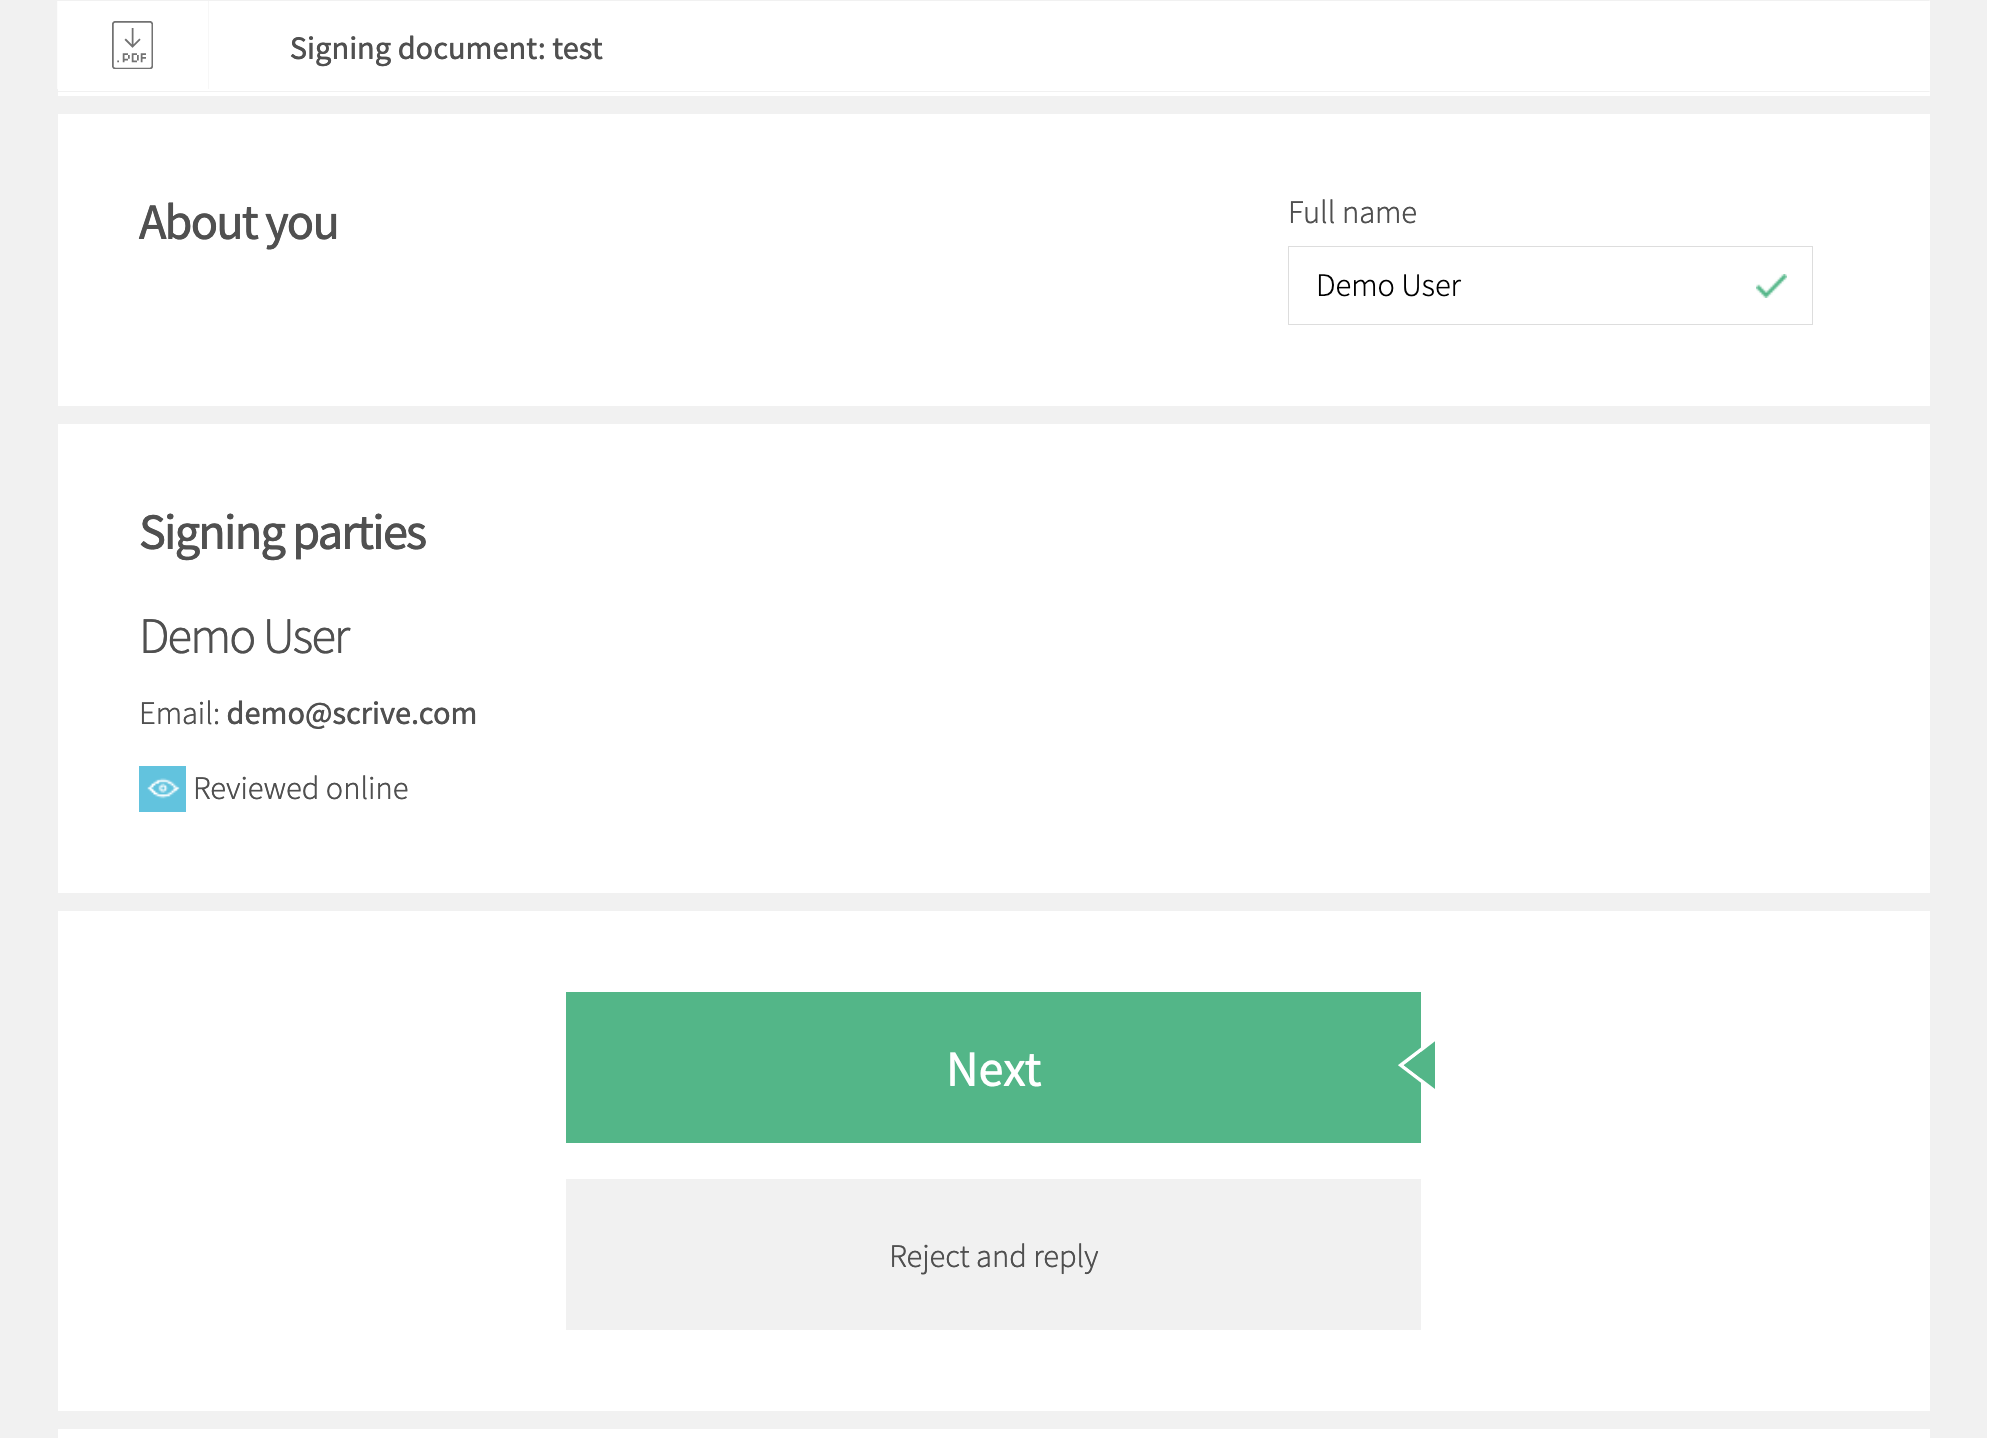
From the overview page, we can navigate to the document, provide our name, and sign:
Receiving the callback
If we go back over to our webhook.site tab then we should see that their service did indeed receive some information as a callback. Given that our process was a very simple one, the one callback that we received was the completed event.
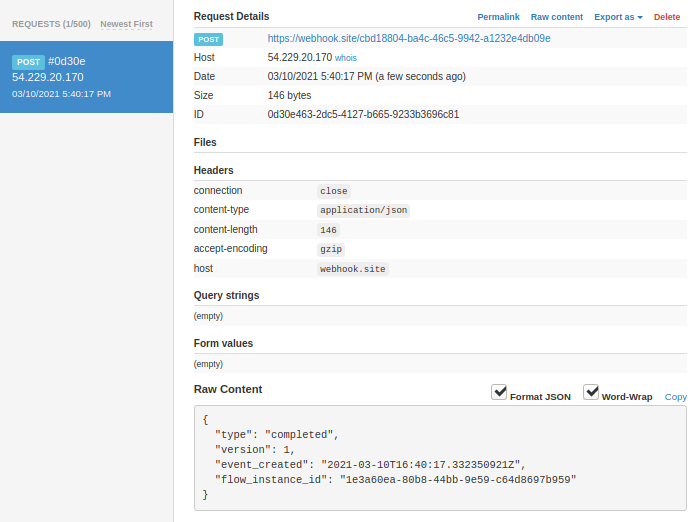
You can see that Scrive's systems sent a POST request containing a JSON object that contains information about the event:
{
  "type": "completed",
  "version": 1,
  "event_created": "2021-03-10T16:40:17.332350921Z",
  "flow_instance_id": "1e3a60ea-80b8-44bb-9e59-c64d8697b959"
}
Within this object, we have the type of event which was sent. We also reaffirm what version of callback we're using, but this will always be the same as what was set when starting the instance.
Further metadata provided includes the flow_instance_id which corresponds to the ID of the flow instance that you created when you instantiated the draft.
Further Reading
If you would like a deeper knowledge of the topics covered here, then the following articles may be useful. You are not required to read them in order to understand the rest of this guide.
-
Document Callbacks section of Scrive's main API documentation - This will be useful if you'd like to capture events that occur at the document level rather than at the Scrive Flow level.
-
Using custom callbacks - If you need more callbacks than the basic ones.