Require EID authentication for a party
When we set up an e-signing workflow, we may want a high degree of confidence that the person who has received and acted upon the invitation link is the person we intended. For this purpose, we may want to call out to an external identity provider and have them confirm their identity.
Setting up the process
Authentication requirements do not need to be specified at the process level. EID auth is not considered to be a part of the workflow itself. This is because whether or not it is enabled will have no bearing on the experience of users walking through the e-signing workflow.
As such, we're going to use the basic process that we saw before in the Getting Started article related to Drafts:
{
  "dsl-version": "0.2.0",
  "stages": [
    {
      "initial": {
        "actions": [],
        "expect": {
          "signed-by": {
            "users": ["user1"],
            "documents": ["doc1"]
          }
        }
      }
    }
  ]
}
We won't go into detail here about setting this up. For more information, see the above-linked article.
Starting the instance
It is at the moment that we create a running instance from the draft that we pass any configuration, if desired, about what kinds of authentication are needed.
Just like we did in the Getting Started article related to Instances, we are going to send a JSON object detailing concrete values for the variable names in the process, but with extra fields related to the required authentication:
{
  "title": "foobar",
  "process_parameters": {
    "documents": {
      "doc1": "2"
    },
    "users": {
      "user1": {
        "id_type": "user_id",
        "id": "1",
        "auth_to_view": {
          "provider": "onfido",
          "max_failures": 1,
          "method": "document_and_photo",
          "allowed_document_types": [
            "national_identity_card",
            "driving_licence",
            "residence_permit"
          ]
        },
        "auth_to_view_archived": {
          "provider": "sms_otp",
          "max_failures": 2,
          "attempts_per_sms": 1,
        }
      }
    },
    "messages": {}
  }
}
As you can see above, user1 has two new fields; auth_to_view and auth_to_view_archived. You need not provide both, but we have here for clarity's sake.
auth_to_view is the authentication that is required to see the available actions (i.e. the documents to sign at this stage in the process). They will have their authentication requested immediately, as soon as they follow the access link. In this case, we're asking them to provide an identity document to Onfido, who will tell us if they have passed verification. The object above also specifies how many times they're allowed to fail authentication before being locked out, and what kinds of identity document are allowed.
auth_to_view_archived is the authentication which is required when the user comes back to view the overview page (containing links to all the finalised documents). In this instance we've chosen a slightly weaker form of auth, which is that they'll have to enter a code which is sent to their mobile phone number.
Going through authentication
When following the access link
Upon starting the instance, I can see the following within the instance response:
"access_links": {
  "user1": "https://scrive.com/experimental/flow/overview/96b04326-11ac-4fc5-83c6-8393e5399574/user1/aea10dc024d1d9ee"
}
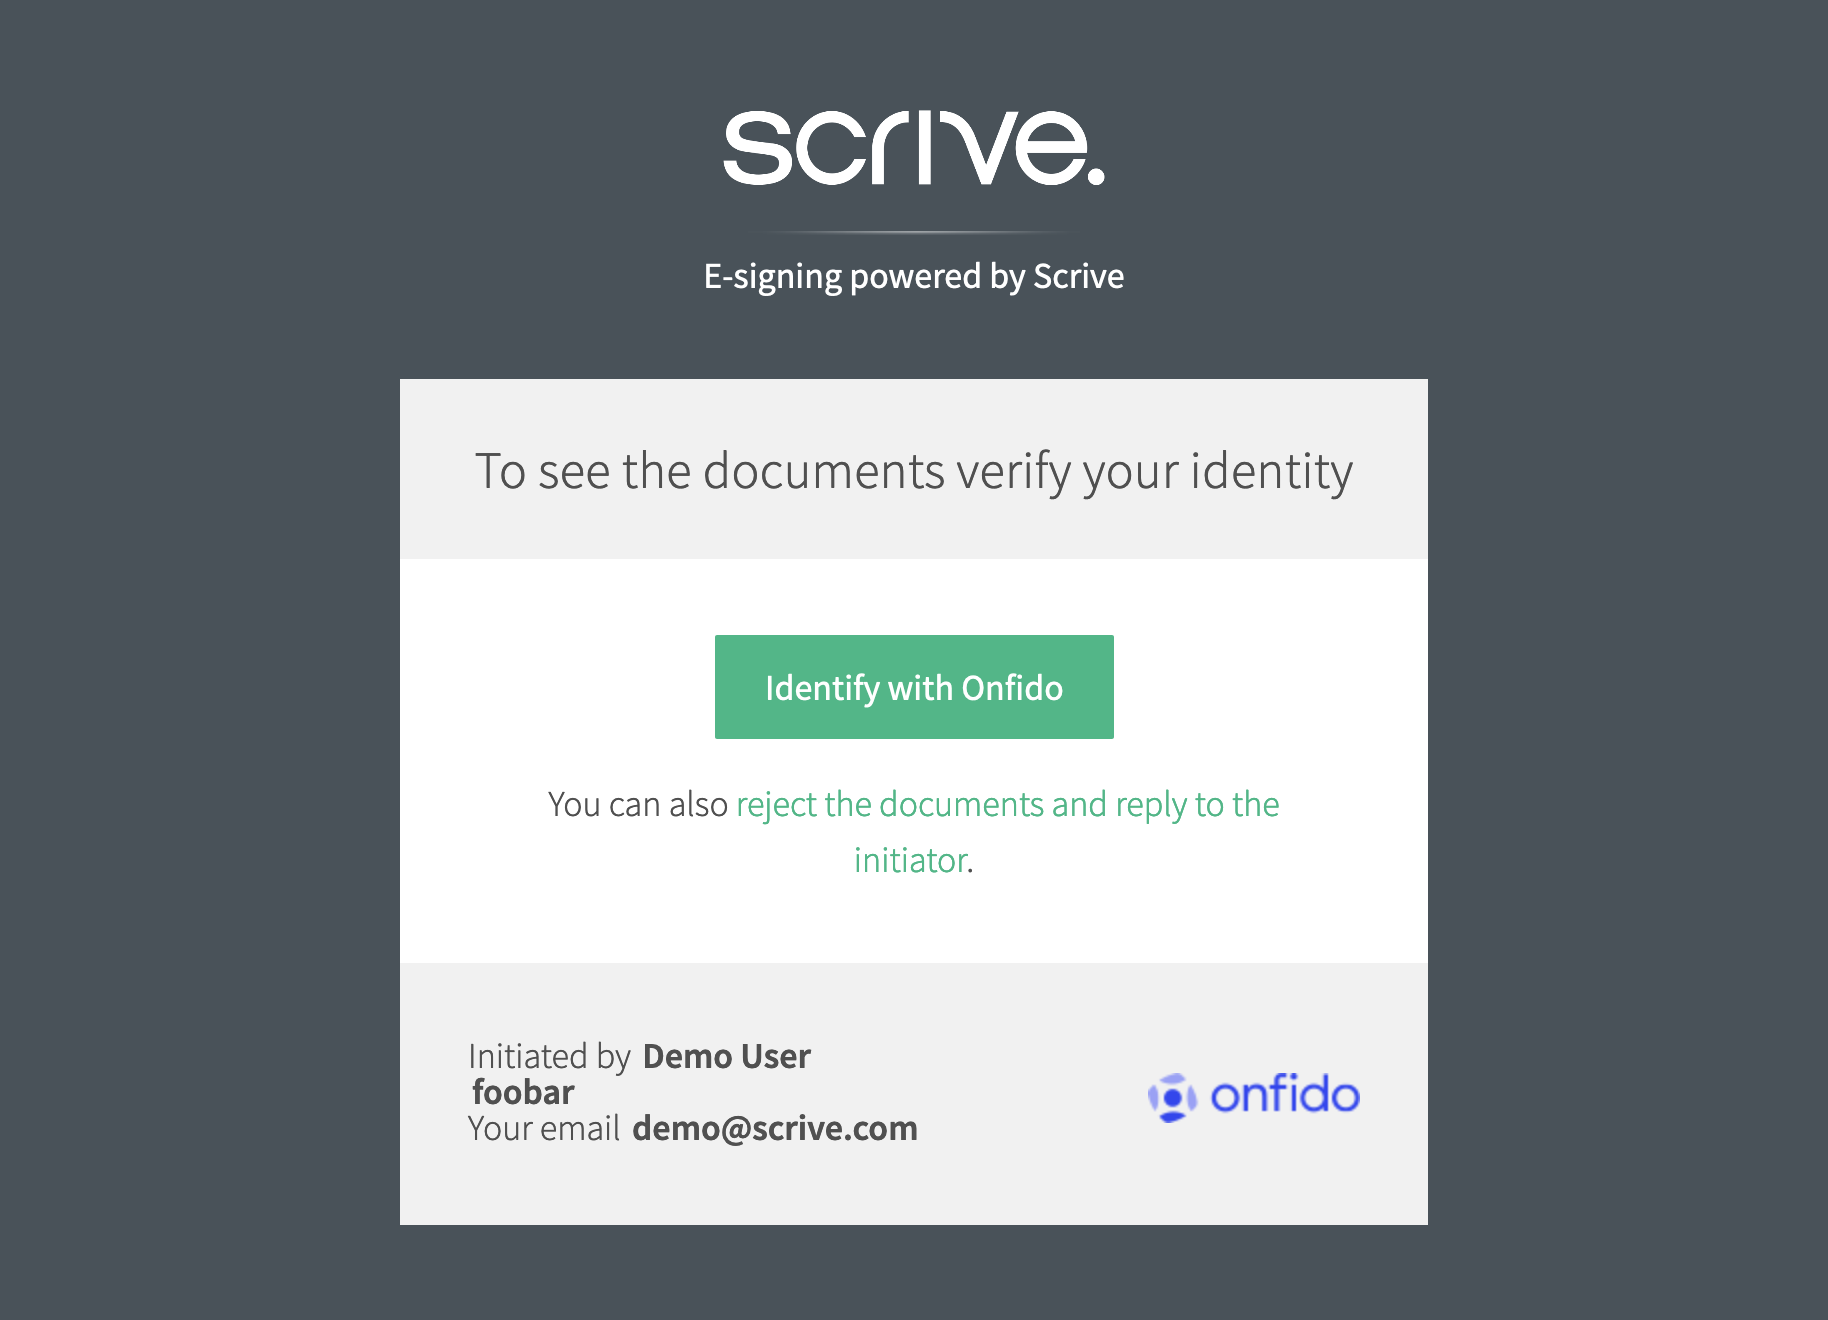
user1 is prompted to authenticate
Let's follow the access link, just as we have before, to the overview page. However, before we arrive there, we are prompted to authenticate:
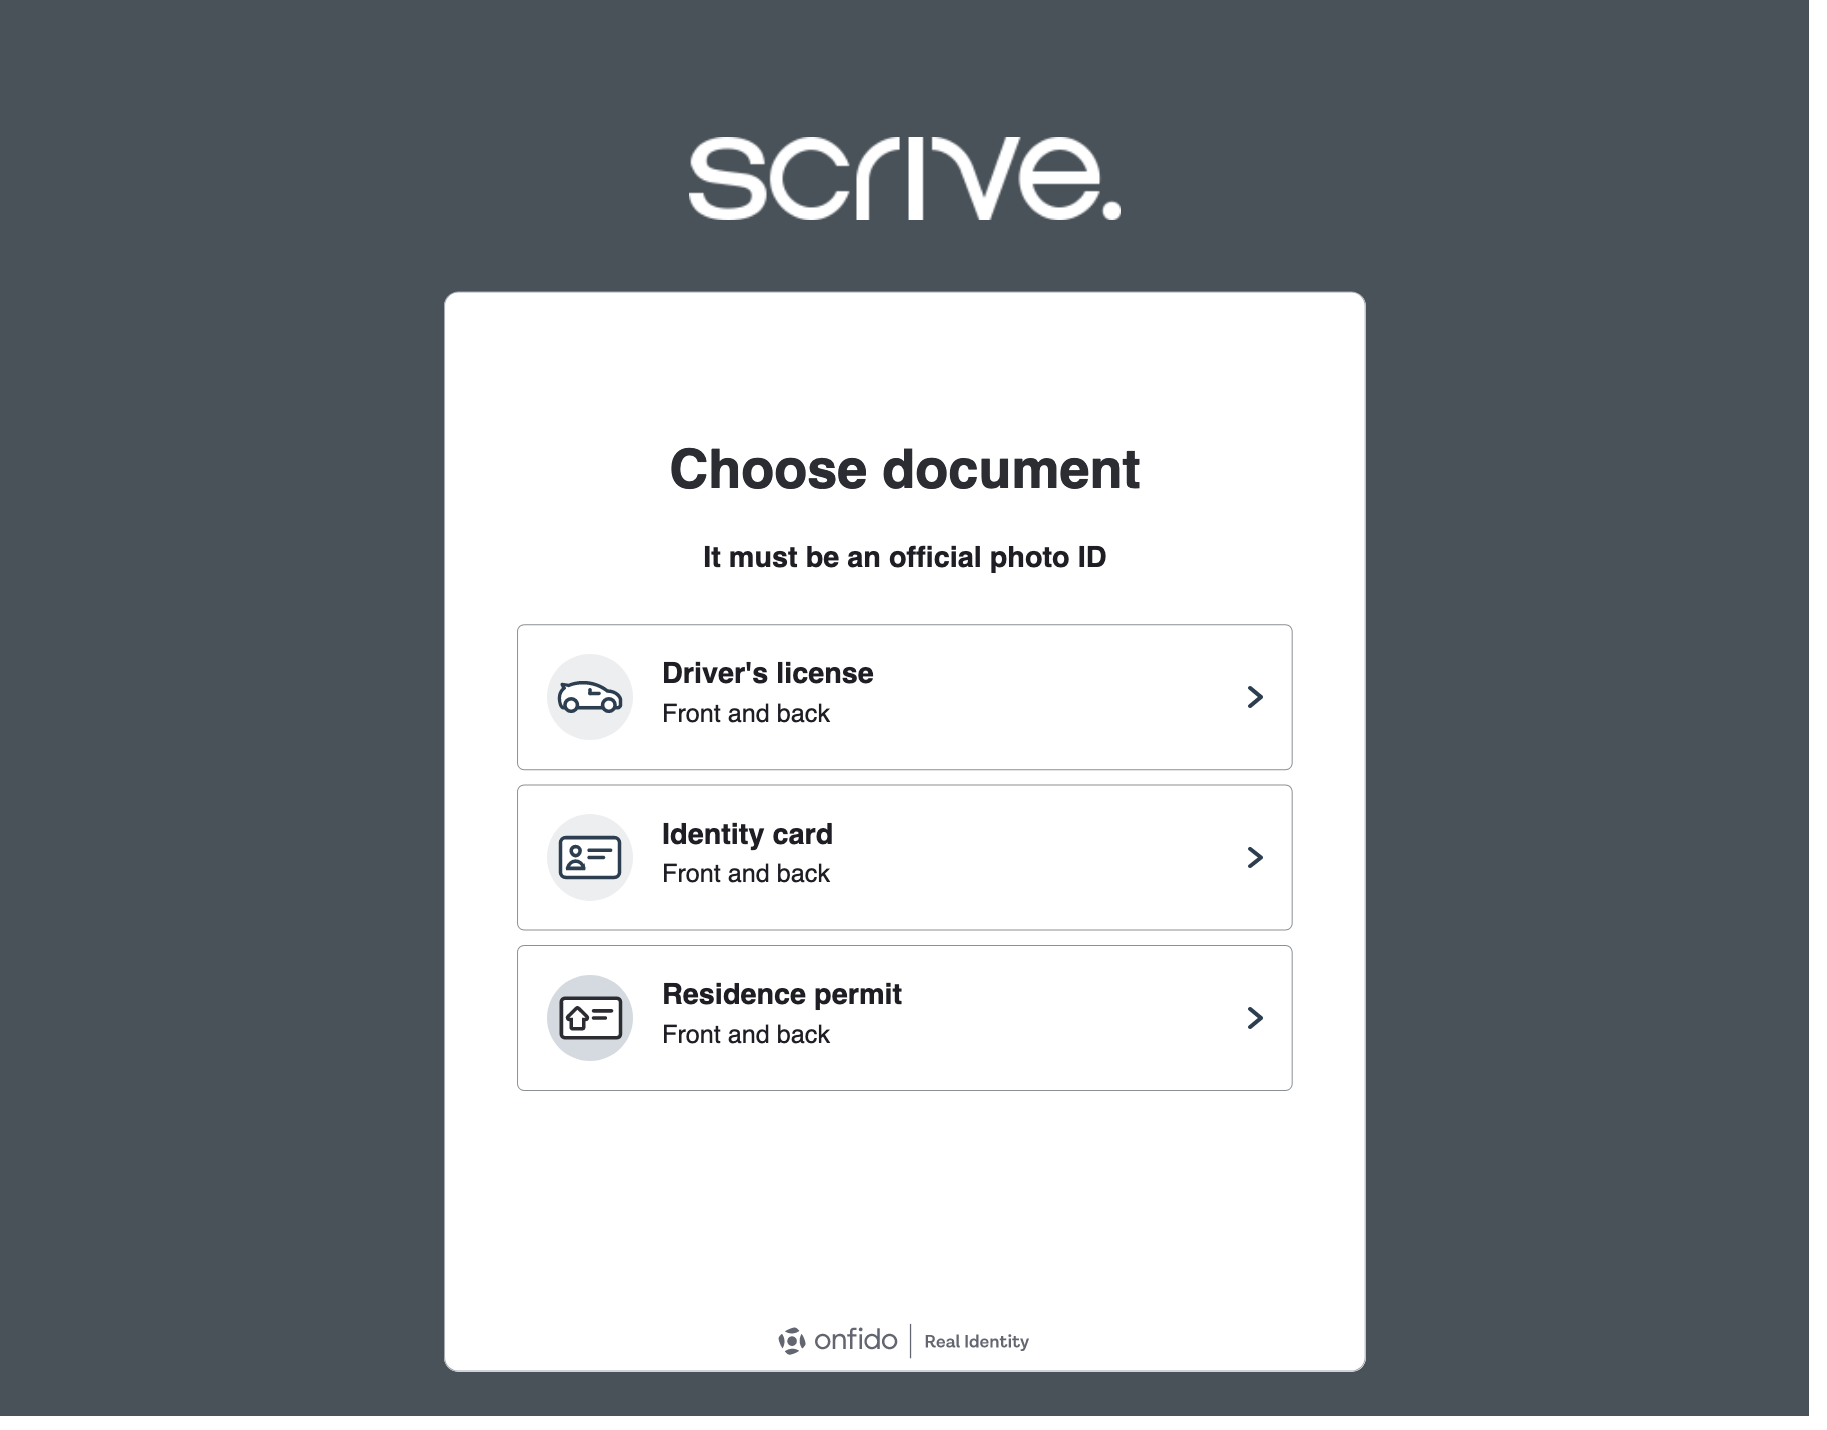
user1 goes through the authentication flow
Following this link, we can go through the Onfido auth flow (or whatever authentication provider you've chosen):
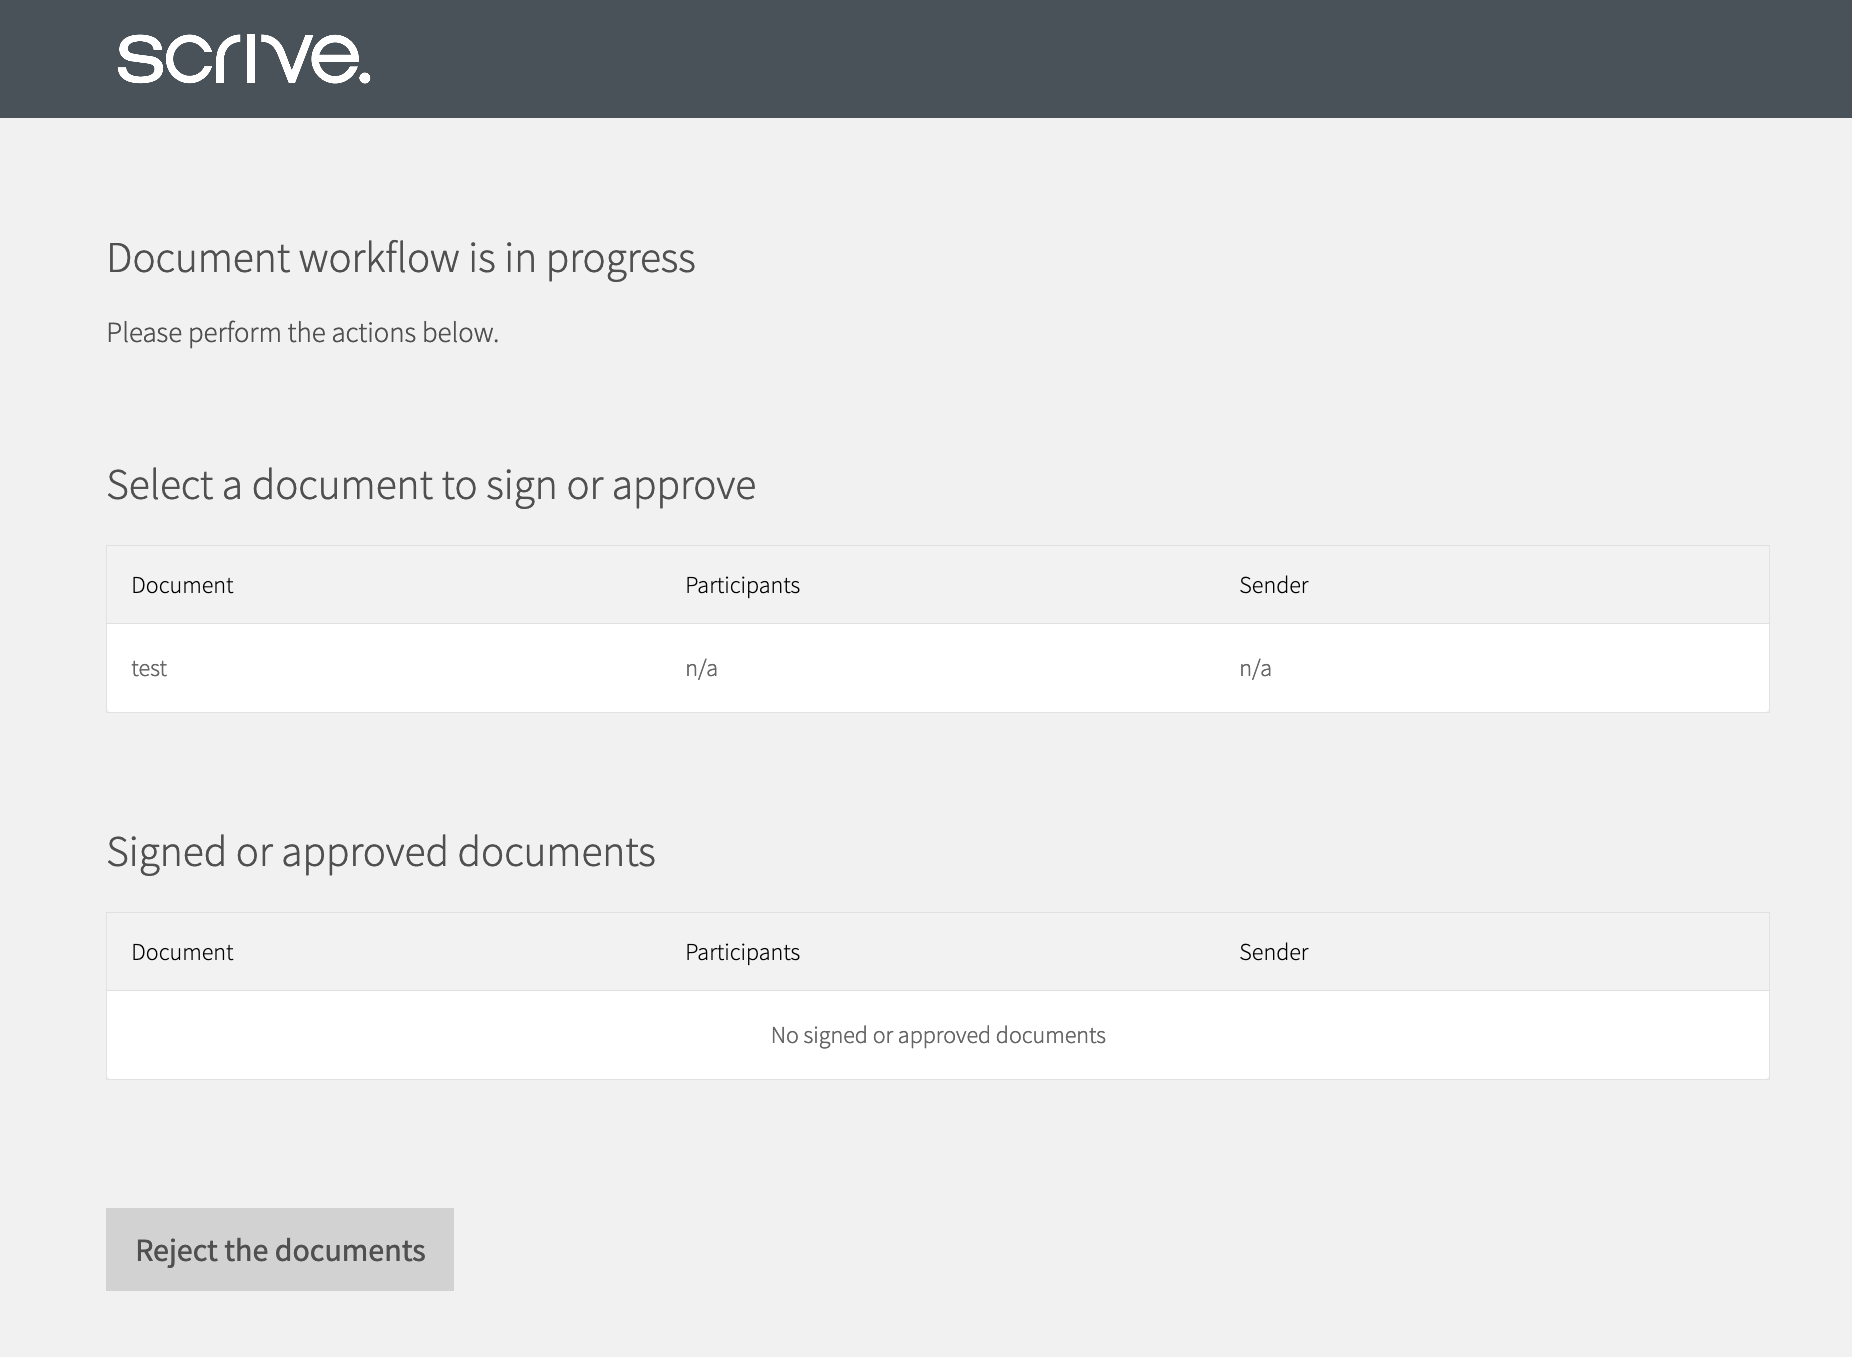
user1 arrives on the overview page
If this completes successfully, we will find ourselves on the overview page as before: