Setting up custom notification messages for parties
As you've seen in the Getting Started guide, we provide the author of the flow e-signing workflow with the access links so that they can distribute them to whomever is the intended participant.
However, this is not the only way notify participants and provide them with the access links. You can also require that Scrive's systems send out these links by email, along with an author-configurable message. These emails, like other Scrive emails, can be branded so as to be consistent with your own style guides and logos.
In this article, we'll show you how to set that up.
Setting up the process
To keep things simple, we're going to use the basic process that we saw before in the Getting Started article related to Drafts. However, we will modify it slightly. We will specify the notifications in the previously-empty list of actions:
{
  "dsl-version": "0.2.0",
  "stages": [
    {
      "initial": {
        "actions": [
          {
            "notify": {
              "users": ["user1"],
              "methods": {
                "email": "msg1"
              }
            }
          }
        ],
        "expect": {
          "signed-by": {
            "users": ["user1"],
            "documents": ["doc1"]
          }
        }
      }
    }
  ]
}
Observe that the actions list now contains one item called notify. Within this object, we specify which users should have notification messages sent out, and via what delivery method. The current possible delivery methods are email and sms.
In the example above, we state that user1 should receive msg1 by email. As previously, these variables will be given concrete values when we start an instance from the draft.
Starting the instance
It is at the moment that we create a running instance from the draft that we pass any configuration, if desired, about where to send callbacks.
Just like we did in the Getting Started article related to Instances, we are going to send a JSON object detailing concrete values for the variable names in the process. However, you'll notice that the messages object is no longer empty:
{
  "title": "foobar",
  "process_parameters": {
    "documents": {
      "doc1": "2"
    },
    "users": {
      "user1": {
        "id_type": "user_id",
        "id": "1"
      }
    },
    "messages": {
      "msg1": "You have some documents to sign, follow the link below."
    }
  }
}
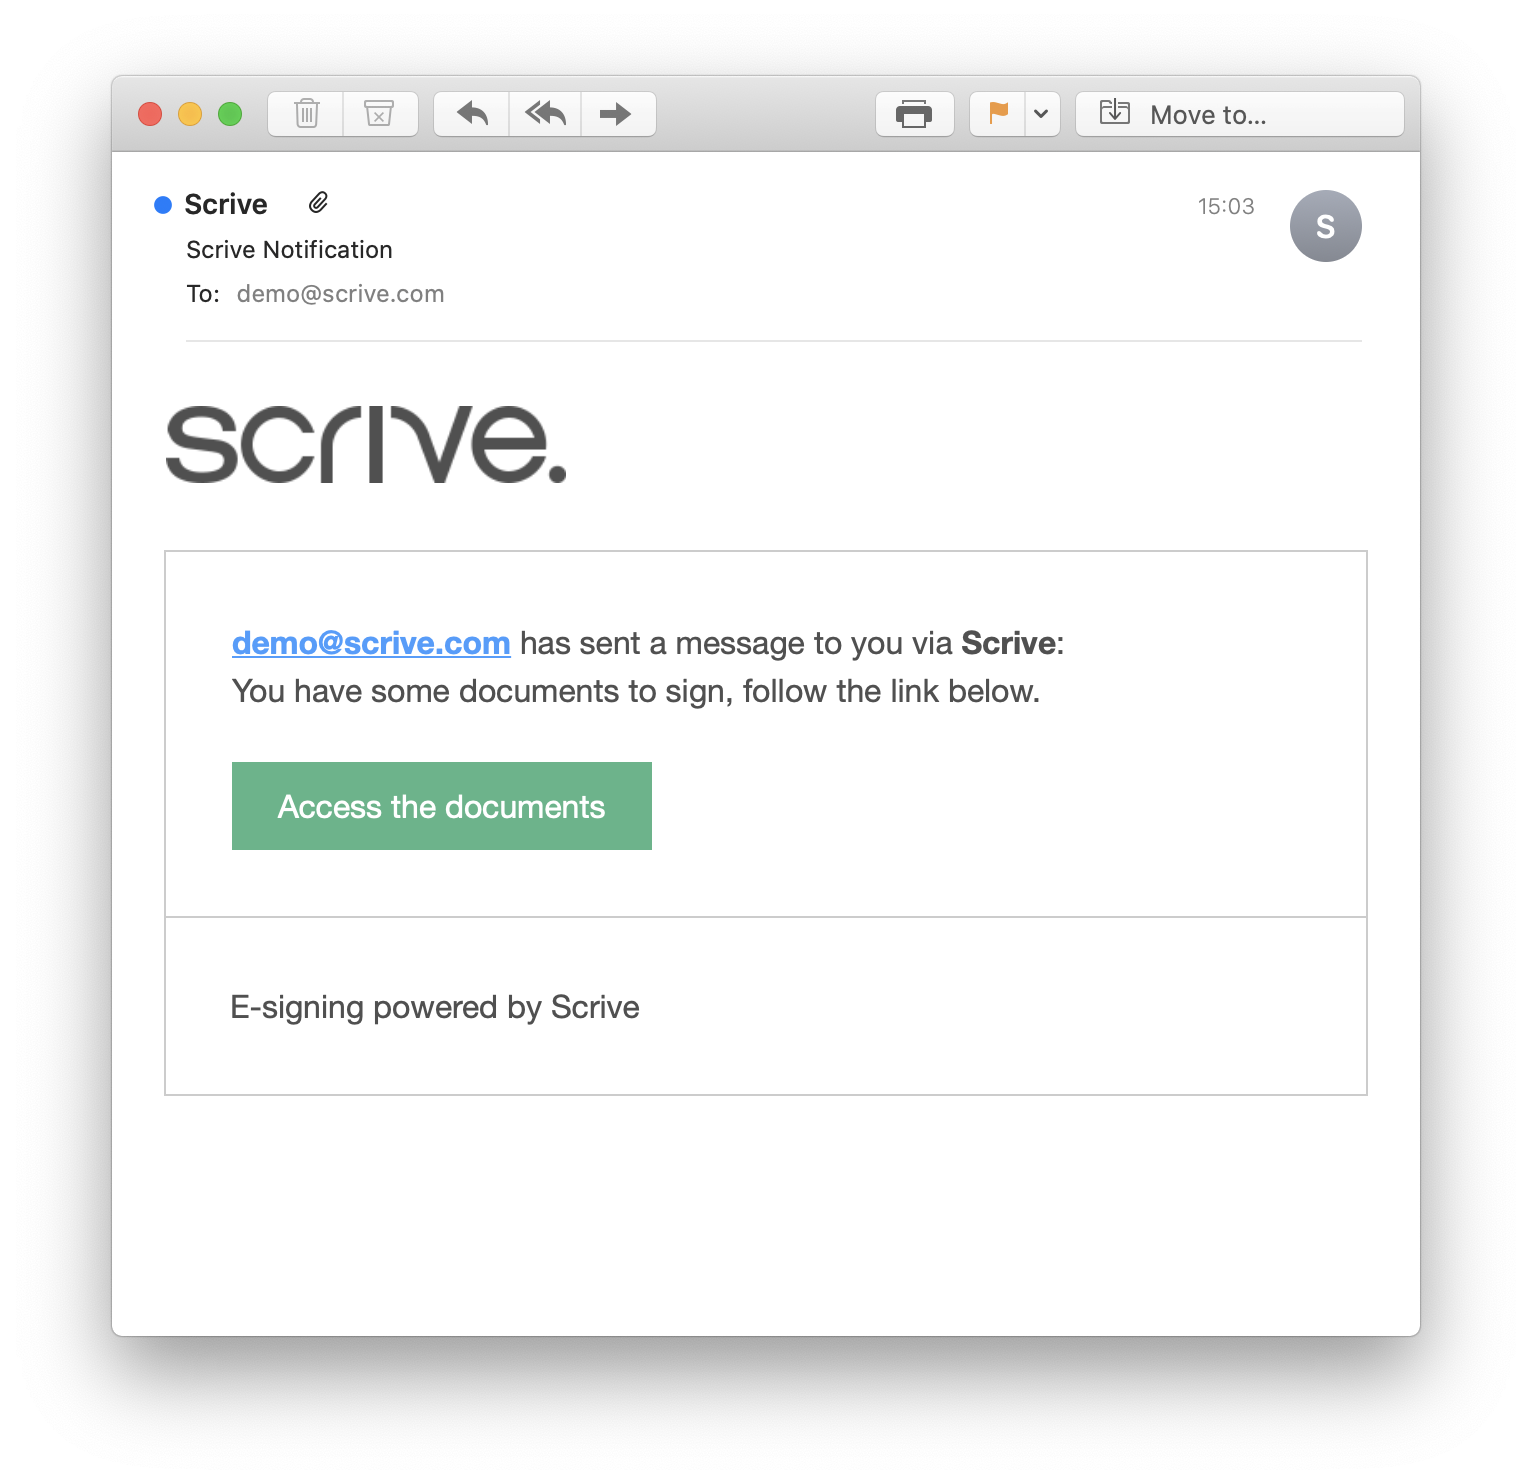
Now that we have specified msg1, we are able to instantiate the draft. The flow will begin execution, entering the initial stage, and causing the notify actions to be triggered. An email, similar to what is shown below, will be sent to the relevant users:
It's important to note that the users specified within users must have the required information. For example, if I specify in the draft process that user1 should be send an SMS notification, then I try to instantiate the user with the following, you will get an error:
{
  "user1": {
    "id_type": "email",
    "id": "foo@example.com"
  }
}
When starting an instance, we check to see if the user is capable of fulfilling the notification requirements.